There is quite possibly nothing that I am more sentimental about than our wedding. We spent so much time creating and pouring over every little detail for our big day. One of the biggest details that I planned and created was the wedding flowers. After ordering enough flowers to fill a garage, my mom and I tediously constructed the bridal and bridesmaid bouquets, the boutonniere and the reception arrangements. Luckily, for me, my mom saved as many of these arrangements as possible and dried them in her attic. After a year of not knowing what to do with the dried flowers, I finally had an idea. In celebration of our 1 year wedding anniversary, I give you:
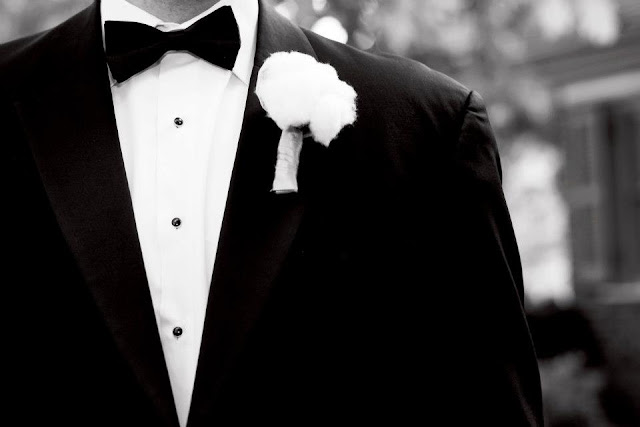
This shadowbox contains Mr H's cotton boutonniere and flowers from my bouquet, the bridesmaid bouquets and the reception table arrangements.
Bridal Bouquet
(photo by Kelli Baker of Simply Unique Photography)
Bridesmaid bouquets
(photo by Kelli Baker of Simply Unique Photography)
Mr H's boutonniere
(photo by Kelli Baker of Simply Unique Photography)
Reception table arrangements
(photo by Kelli Baker of Simply Unique Photography)
After drying the flowers, I disassembled the bouquets and cotton bol boutonniere.
I bought a shadowbox from Home Goods for about $12.00 for this project. I pulled out my hot glue gun and started gluing and arranging the flowers and greenery in the center of the shadowbox.
I quickly realized that it was going to take a lot of flowers and greenery to get the full, completely covered, effect that I was going for. I kept working my way out from the center, hot gluing each individual flower.
I may have burned my fingers a couple . . . or a few . . .times.
And finally, I filled all of the gaps:
While the colors of the dried flowers may not be great, I love the way it turned out! While this project only cost $12.00 (shadowbox), it was not fast and easy. It took at least 2 hours to delicately place and glue each individual flower.
I'm not sure yet where this shadowbox will live in our home, but I'm positive that I'll enjoy looking at it and remembering our wedding and all of the love represented on that day.
Do you have dried flowers set aside? Perhaps gifts from your significant other or from a loved one's funeral? This shadowbox is a good way to memorialize those fragile flowers.
P.S-I've considered doing a few posts documenting all of the details that we created for our wedding. Is this something that you readers would be interested in reading?
xoxo


I love the shadow box. I will dry the next flowers I receive, hoping we can make one too.
ReplyDeleteLove your ideas. Though our five children are all married, I would use shadowboxes as gifts for anniversaries, baby's birth, etc.
ReplyDeleteDid you spray the flowers with hairspray after dried?
ReplyDeleteBeautiful editing, natural colors. best Maui wedding photographers
ReplyDelete