We finished up a small project yesterday in the bedroom that really isn't a big enough DIY project to even be worthy of it's own blog post! So, I've coupled it with a tour of our bedroom.
We bought a dresser from IKEA a few months ago to serve as Mr. H's bedside table. I've gone back to try and find the dresser on IKEA's website but I don't think it's available anymore so I can't give you any specifics on it's name or price (thinking we paid about $50). I really didn't like the hardware pulls on the dresser drawers so this DIY was simply changing the existing hardware.
Here's the hardware I ordered online:
Here's the dresser mid-hardware change. You can see the horrible hardware that the dresser came with on the bottom drawer:
Dresser before
The new drawer pulls were about $1.50 each plus shipping.
Dresser after
I am loving the antiqued brass look against the dark ebony wood. Easy, simple, IKEA dresser face lift. If you find a piece of furniture that you love but the hardware is dreadful, just remember, hardware is an easy fix.
Here are some other pics of our bedroom. Unfortunately, I don't have before pics but this bedroom has undergone a drastic transformation since my husband's bachelor days in this condo (just picture typical male dorm/fraternity room).
DIY Upholstered Headboard
Our wedding photos grouped together to make a bigger impact
Love the texture the cowhide rug gives the space
Sources:
Headboard-DIY project
Bedding-Lewis Paisley by Pottery Barn
Pillows-custom made by my mom
Dark bedside table-IKEA
Mirrored bedside table-Kirklands
Lamps-Stein Mart
Picture frames-Pottery Barn
Mirrors-Garden Ridge
Chest-Home Goods
Cowhide rug-Sams Club
Paint color-"Ashes" by Behr
Mr H says this room is very relaxing. What do you think?
Do you prefer subtle muted colors in your bedroom sanctuary or bursts of color?
(She always has to be in the middle of projects-maybe she thinks she's helping)
See ya soon, xoxo


Great look! And where did you get your bedroom chandelier?
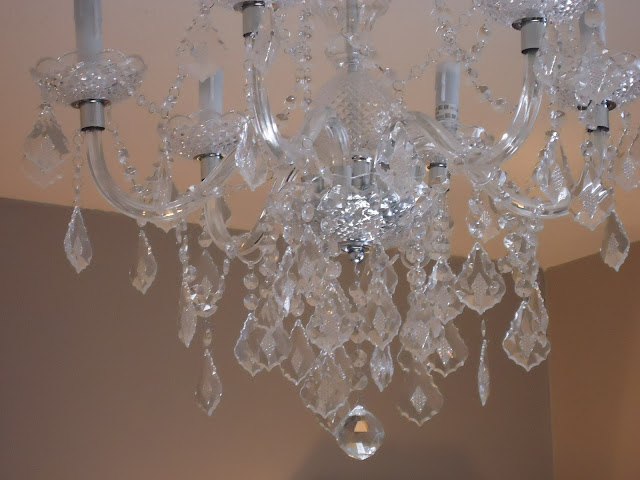
ReplyDeleteLeave it to you mom to find the detail I forgot! We are so much alike! The chandelier is the Hampton Bay Maria Theresa from Home Depot (http://www.homedepot.com/p/Hampton-Bay-Maria-Theresa-6-Light-Chandelier-C873CH06/202184534#.Uapa55ywVVU). It frequently goes on sale for about $50 which is what I paid.
DeleteSo beautiful Lori!!! I can definitely see how you have transformed the bachelor pad!! I hope you do a post on how you made your headboard. I've been looking for something similar and decently priced for a long time!!
ReplyDeleteThanks, Emily! Finally got the reply button working on my blog which is why this response is delayed! The headboard was so easy and fast. Let me know what you're wanting and I'll try to help! Miss y'all ;)
Delete